How to Fix a Leaking Garden Hose (Any Spot It Leaks)
Most hose leaks come from a worn or missing rubber washer, and that takes a minute to fix. Here's how to find where your hose is leaking and fix each spot: the faucet connection, the coupling, a pinhole, a split, or the spigot itself.

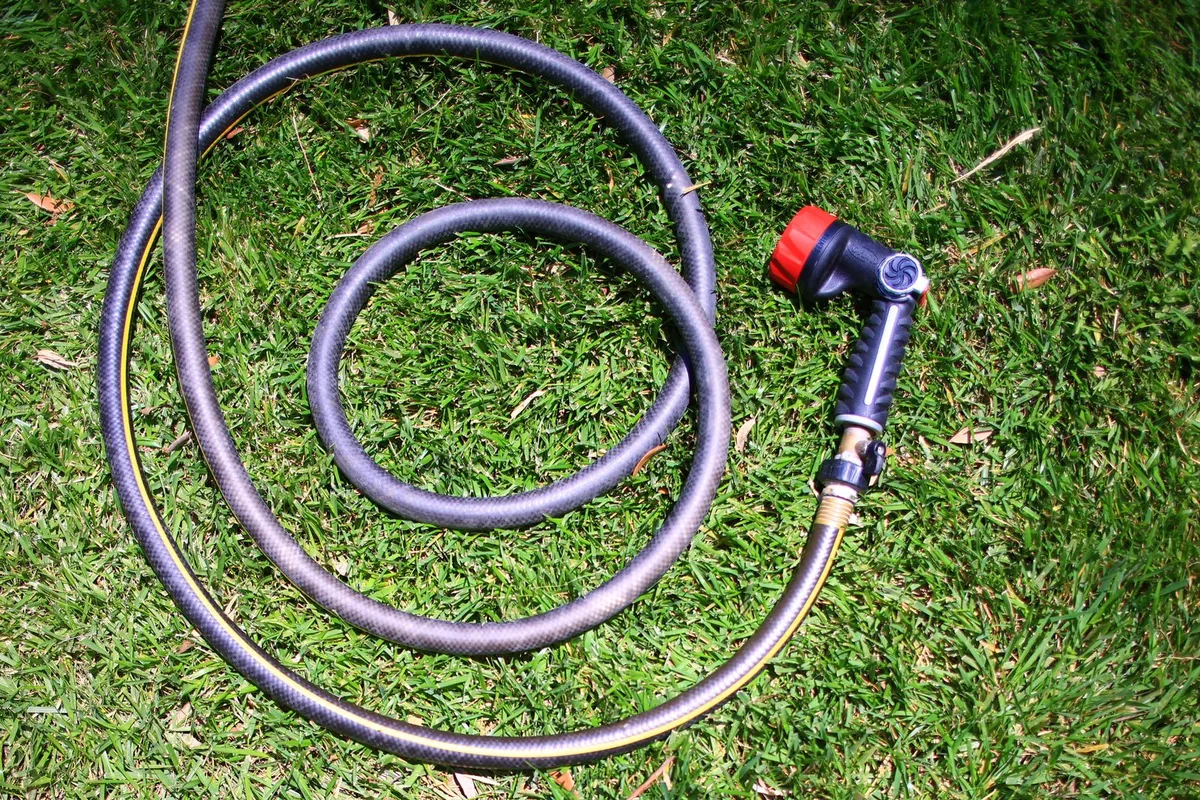
A leaky hose wastes water, soaks your shoes and turns the spot under the spigot into mud. The good news is that most leaks are cheap and quick to fix. By far the most common cause is a tiny rubber washer that’s worn flat, cracked or missing, and replacing it costs pennies.
Before you buy a new hose, find exactly where the water is coming from. Each spot has its own fix.
Step 1: Find the leak
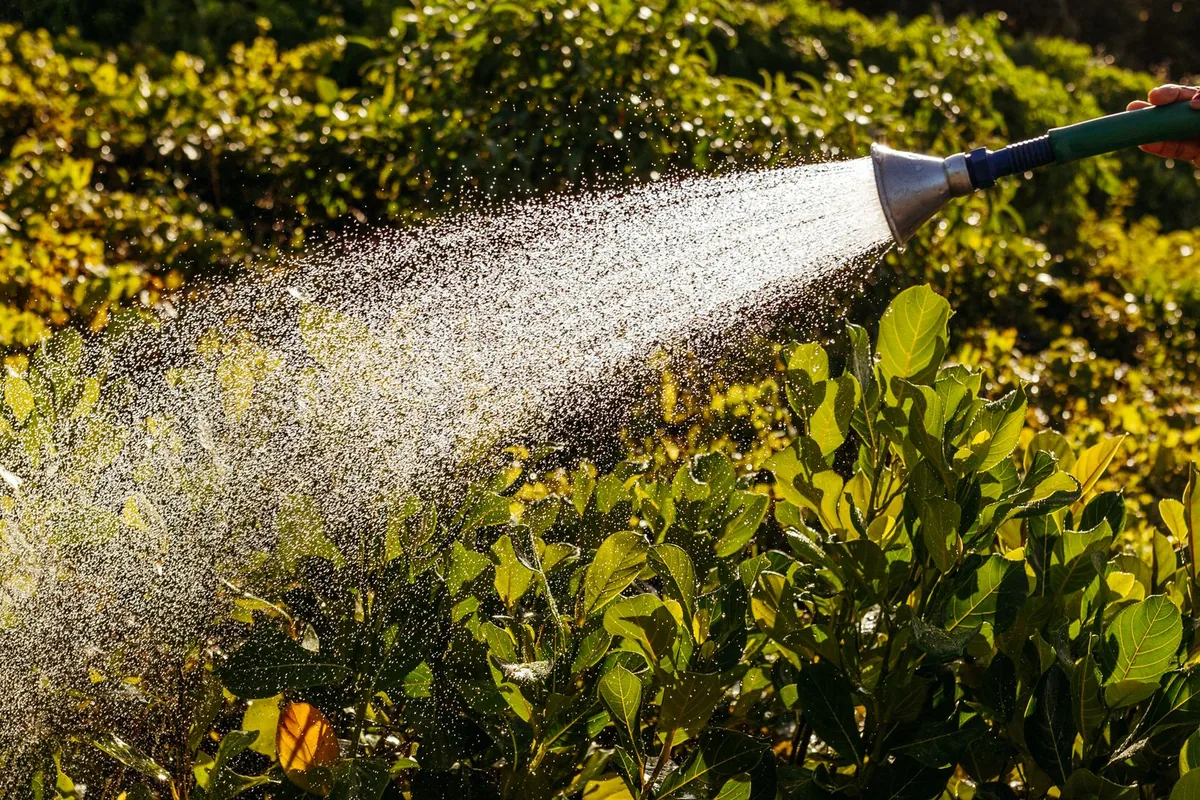
Connect the hose, put a nozzle on the end and set it to off, then turn the water on all the way. With the hose under full pressure, walk it from the faucet to the nozzle and look and feel for water. Leaks usually show up in one of five places:
- Where the hose meets the faucet. Water sprays or drips from the connection.
- Where the hose meets the nozzle, a sprinkler or another hose. Same thing at the other end.
- The faucet itself. Water comes from around the handle or stem, even with nothing connected.
- A pinhole or small crack somewhere along the hose, often where it’s been kinked, run over or left in the sun.
- A split or crushed coupling, the metal or plastic fitting at either end.
Turn the water off and release the pressure by squeezing the nozzle before you start any repair.
Fix 1: Leaking at the faucet or nozzle connection
This is almost always the washer. Look inside the female coupling, the end with the threads on the inside. There should be a flat rubber ring sitting in the bottom.
- Pull out the old washer. Pry it out with a small flathead screwdriver or your fingernail. If it’s hard, flattened, cracked or gone, that’s your leak.
- Press in a new one. Standard garden hose washers are sold in bags at any hardware store and fit almost every US hose. Push it in flat until it seats in the bottom of the coupling.
- Reconnect hand-tight. Thread the hose back onto the faucet and tighten firmly by hand. Don’t use pliers. Overtightening crushes the new washer and can crack a plastic coupling.
- Check the threads. If it still drips, look for damaged threads on the hose or the faucet. Wrapping the faucet’s male threads with a few turns of plumber’s tape can seal minor thread damage.
If the coupling is cross-threaded, cracked or bent out of round, skip to Fix 4.
Fix 2: A pinhole or small crack
For a tiny hole, you have two options.
- Quick patch with tape. Dry the hose completely and wipe it clean. Wrap self-fusing silicone repair tape tightly over the hole, stretching it as you go and overlapping each wrap by about half, for an inch or two on both sides of the leak. Electrical tape will slow a drip for a day or two, but it won’t hold under pressure for long.
- Permanent fix with a mender. Pinholes tend to be followed by more pinholes as the hose ages, so if the patch keeps failing, cut out the bad section and join the hose with a mender, as in Fix 3.
Fix 3: A split or a bad section in the middle
A hose mender is a short double-ended fitting that joins two cut ends of a hose. They come in plastic or brass and in sizes to match your hose’s inside diameter, usually 1/2, 5/8 or 3/4 inch. The size is often printed on the hose. If not, take a cut piece to the store to match it.
- Cut out the damage. Use a sharp utility knife or a hose cutter to make two clean, square cuts, one on each side of the split. A straight cut seals much better than a ragged one.
- Soften the ends. Dip each cut end in hot water for a minute. Warm vinyl and rubber slide over the barbs far more easily.
- Push the ends onto the mender. Work each end all the way onto the barbed fitting.
- Tighten the clamps. Some menders have screw-down collars, others use separate hose clamps. Tighten them snugly over the barbed area.
- Test it. Turn the water on with the nozzle closed and check for drips.
You lose a few inches of length, but the hose works like new.
Fix 4: A damaged coupling at the end
If the fitting at either end is crushed, cracked or stripped, cut it off and put on a replacement coupling. Replacements are sold as male ends (threads on the outside, for the nozzle end) and female ends (threads on the inside, for the faucet end), in the same sizes as menders.
- Cut off the old coupling with a clean, square cut just behind it.
- Soften the hose end in hot water.
- Push the new coupling’s barbed end into the hose all the way.
- Tighten the clamp or collar, then test under pressure.
On the female end, check that the new coupling has a washer in it before you connect it.
Fix 5: The faucet is leaking, not the hose
If water seeps from around the faucet handle when it’s on, the packing around the valve stem is loose or worn. Try tightening the packing nut, the nut right behind the handle, about a quarter turn with a wrench. That often stops the drip. If the faucet drips from the spout when it’s turned off, the washer inside the valve is worn, which is a separate faucet repair. A dripping outdoor faucet in winter can also be a sign the pipe froze and cracked, which needs a plumber or a faucet replacement.
How to keep your hose from leaking again
- Don’t leave it under pressure. Turn the faucet off when you’re done, even with a shutoff nozzle on the end. Constant pressure wears out washers and weak spots.
- Store it coiled and out of the sun. UV light breaks down vinyl and rubber. A hose reel or a hanger in the shade helps it last years longer.
- Avoid sharp kinks. Unkink the hose before turning on the water and pull it in wide curves around corners.
- Drain it before freezing weather. Water left inside can freeze and split the hose. Disconnect it, drain it, and store it inside for winter. Disconnecting also protects the faucet.
- Keep spare washers on hand. A bag of washers in the garage turns the most common hose leak into a 30-second fix.
Frequently asked questions
Why does my hose leak at the faucet even with a new washer?
The coupling may be cross-threaded, bent or cracked, or the faucet threads may be damaged. Try a different hose on the same faucet. If it doesn’t leak, replace the coupling on your hose. If it does, wrap the faucet threads with plumber’s tape or replace the faucet’s threaded spout.
Can you use duct tape to fix a garden hose?
Only as a very short-term patch. Duct tape loosens quickly once it gets wet and can’t hold against household water pressure. Self-fusing silicone tape or a mender is the lasting fix.
Is it worth fixing an old hose?
Usually, yes. Washers and menders cost a few dollars at most. The exception is a hose that’s cracking in many places or has gone stiff and brittle from sun. At that point the material itself is failing, and patches won’t keep up.