How to Find a Stud Without a Stud Finder (and Know You Actually Hit One)
Seven ways to find a wall stud with no stud finder, using outlets, trim nails, a magnet, a flashlight and a tape measure, plus how to confirm the stud before you drill.

You don’t need a stud finder to find a stud. Walls are built to a pattern, and the pattern leaves clues you can see from the room: outlets, trim nails, screw dimples and corners. Use two or three of the methods below to narrow it down, then confirm the spot with a thin nail before you drill anything big.
How walls are framed
Knowing this makes every other method easier.
- Studs are usually 16 inches apart, measured center to center. Some newer homes, garages and exterior walls use 24 inches. Rarely you’ll find 12 or 19.2 inches.
- A stud is 1½ inches wide. A “2x4” really measures 1½ by 3½ inches. Your target is narrow, so finding one edge isn’t enough. You want the center.
- Spacing usually starts from a corner, but the first gap is rarely a full 16 inches. Builders lay out from one end of the wall, so the pattern is most reliable in the middle of a wall.
- Doors and windows have doubled studs on each side, and there’s always framing at the corners.
1. Start at an outlet or light switch
Electrical boxes in most homes are nailed or screwed to the side of a stud. Turn off the circuit, take off the cover plate and look into the gap around the box. You can often see the stud, or feel the side the box is fastened to by sliding a thin plastic ruler or a wooden skewer along the edges.
Once you know which side the stud is on, measure about ¾ inch past the box edge to reach the stud’s center. From there, count off in 16-inch steps.
Some boxes are “old work” boxes clamped to the drywall with no stud behind them, so treat this as a strong clue, not proof.
2. Look for nails in the baseboard
Trim carpenters nail baseboards into the studs, because drywall alone won’t hold a nail. Look closely along the top edge of the baseboard for small filled holes or dimples in the paint. A row of them spaced about 16 inches apart marks the studs. Crown molding often shows the same pattern near the ceiling.
3. Shine a flashlight along the wall
Drywall is screwed to every stud, usually every 12 to 16 inches up the wall. Those screws are covered with mud and paint, but they often leave faint dimples. Turn off the overhead light, hold a flashlight flat against the wall so the beam skims across the surface and look for a vertical line of small bumps or dents. Glossy paint shows them best.
4. Use a magnet
A strong magnet will stick to the drywall screws over each stud. A neodymium magnet from a craft drawer works, or a fridge magnet if it’s strong. Tie it to a piece of string or dental floss so it can’t fall into an outlet box, then slide it slowly across the wall at about waist height until it grabs. Move it up and down to find a second screw directly above or below the first. Two screws in a vertical line are a stud, not a random nail.
This is one of the most reliable tricks, because it finds the actual fastener in the stud.
5. Knock on the wall
Knock with a knuckle and listen while you move sideways along the wall. Between studs the wall sounds hollow and drum-like. Over a stud the sound turns dull and solid, and the wall feels firmer. It takes a little practice, and plaster walls are much harder to read than drywall. Use it to narrow the search, not to decide where to drill.
6. Measure from a corner
If you’ve found one stud with any of the methods above, measure 16 inches from its center to find the next, then check that spot with the magnet or a knock.
Measuring straight out from a room corner works less well. The corner has framing, but the first stud out from it can be anywhere from a few inches to 16 inches away, depending on where the framer started. Measure from a stud you’ve already found when you can.
7. Check above and beside windows and doors
Window and door openings are framed with doubled studs on both sides and a header across the top. The wall right next to the trim of a door or window almost always has solid wood behind it. That’s handy for curtain rods, which need to go just outside the window trim anyway.
Confirm it before you drill
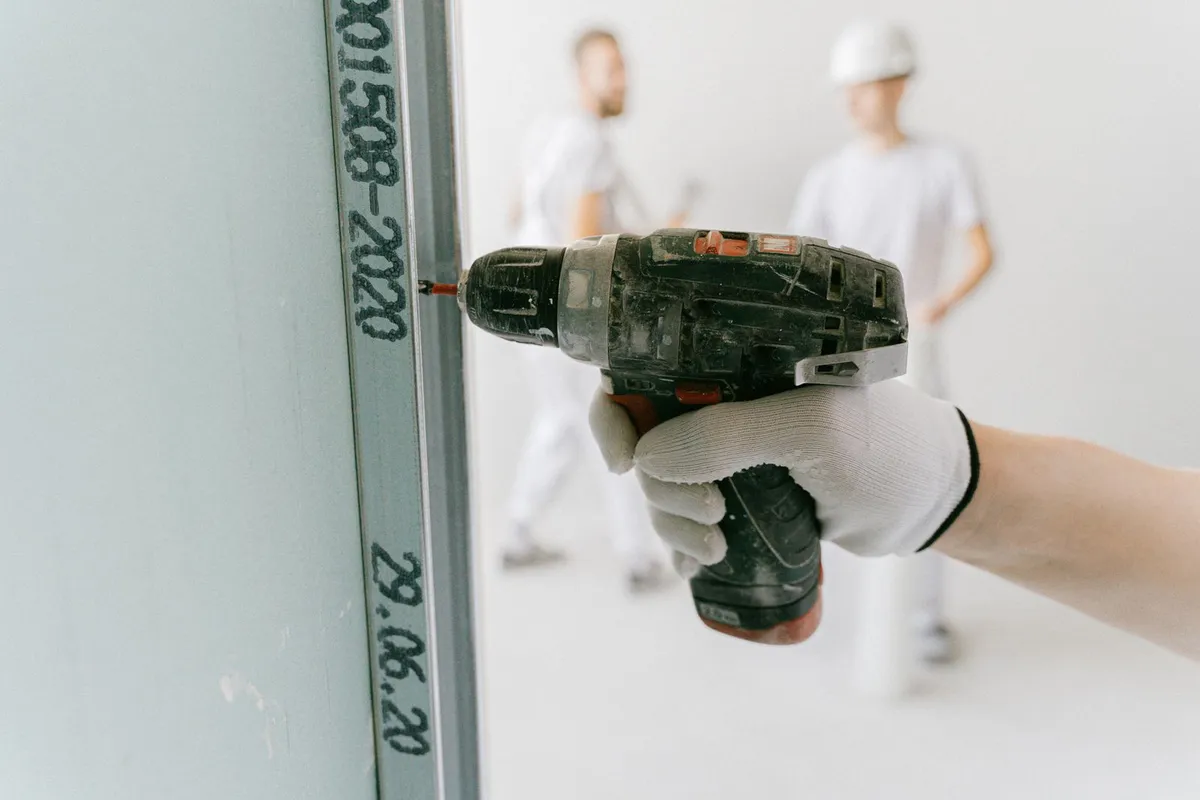
Every method above can fool you, so test the spot first. Pick somewhere that will be hidden, like right where the picture or TV mount will hang.
- Tap in a thin finish nail, or drill a 1/16-inch hole.
- Feel what happens. If the nail goes in easily and then hits firm resistance about ½ inch in (the thickness of standard drywall), you’ve hit wood. If it pushes through easily, you’ve missed.
- If you missed, move about ¾ inch left or right and try again. A few small holes are easy to fill with spackle, and they’ll be behind whatever you’re hanging.
- Find both edges if you need the center, for a heavy TV mount for example. Probe until the nail misses on each side, then center your screw between them.
Wood shavings on the drill bit mean wood. White dust that keeps coming means drywall or plaster. If the bit hits something hard and shiny that won’t drill, stop. That’s a steel stud or a metal nail plate (more on both below).
What to avoid hitting
- Wires. Cables usually run up and down the sides of studs, and sideways through them at about outlet or switch height. Don’t drill directly above or below an outlet or switch, and stay away from the height of other outlets in that wall.
- Pipes. Walls behind sinks, toilets, tubs and the washing machine hookup often have water and drain lines. Kitchen walls may have gas lines too.
- Metal nail plates. Builders nail steel plates over studs where wires or pipes pass through them. If a bit or nail hits metal at a stud, back off. Something is protected behind it.
Plaster, steel studs and other trouble
Plaster and lath walls (common in homes built before about 1950) defeat most of these tricks. Knocking sounds solid everywhere, and the magnet finds lath nails all over the wall. Trim nails and outlets are your best clues, and test holes are the only proof. Expect old studs to be a full 2 inches wide and not always 16 inches apart.
Steel studs, found in some newer homes, basements and condos, work fine with the magnet trick because drywall is screwed to them too. You’ll need self-tapping screws or toggle anchors made for metal studs. Wood screws won’t hold.
Brick or concrete walls don’t have studs at all. See our guide to drilling into brick or concrete.
When you don’t need a stud at all
For a light picture frame or a small mirror, a stud is a nice bonus, not a requirement. A picture hook rated for the weight, or a plastic drywall anchor, holds light items fine. Save the stud hunting for TVs, heavy mirrors, shelves, grab bars and anything a child might pull on, like a dresser that needs anchoring to the wall.