How to Sharpen a Kitchen Knife With a Whetstone (Beginner-Friendly)
A plain, step-by-step guide to sharpening a kitchen knife on a whetstone: which grit to use, how to hold the angle, and how to tell when you're done.

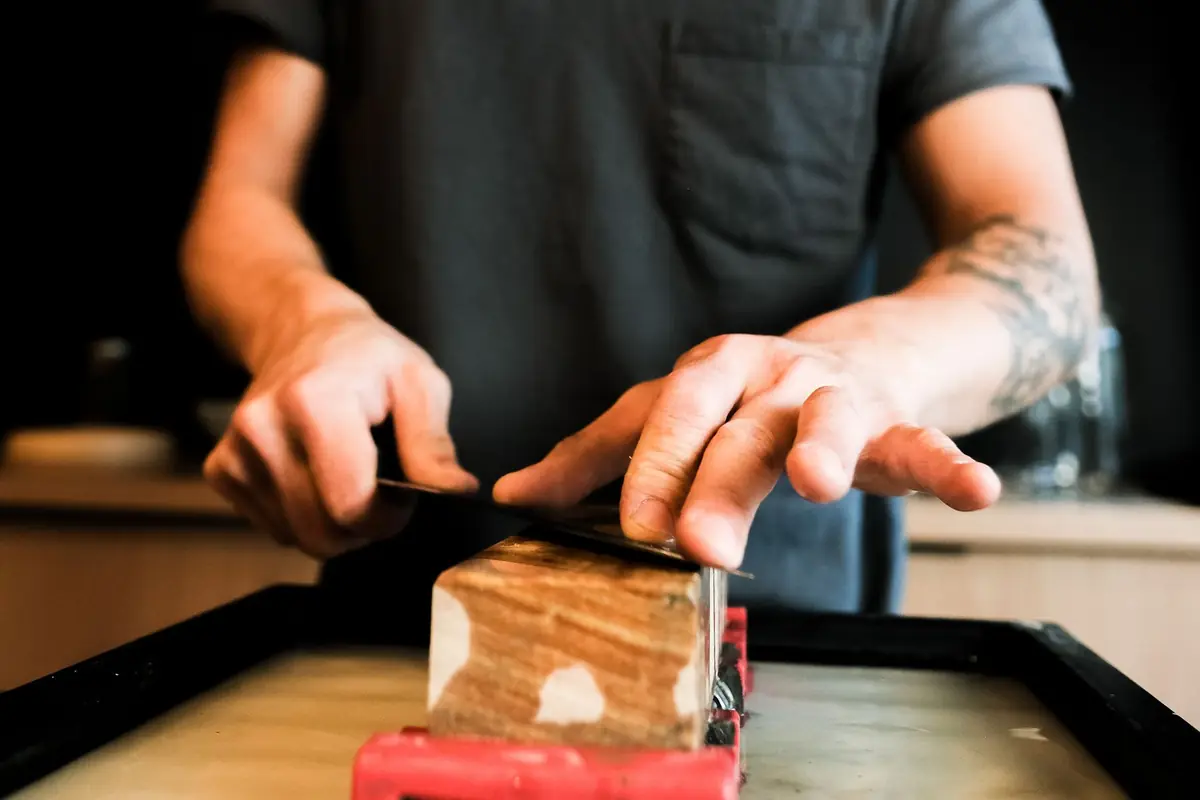
A whetstone gives you the sharpest edge of any home method, and it’s easier to learn than it looks. Your first knife might take 20 minutes. After a few tries, it’s a 5-minute job.
The whole idea: hold a steady angle, grind until you raise a small burr along the whole edge, then do the same on the other side and polish it off.
What you’ll need
- A combination whetstone, ideally 1000 grit on one side and 3000 to 6000 on the other
- Water (or whatever your stone’s instructions say)
- A damp towel or the stone’s rubber base to stop it sliding
- A permanent marker (optional but very handy)
- A sheet of paper to test the edge
Which grit to use
- 220 to 400 grit: for repairing chips or a very neglected edge. Most home cooks rarely need this.
- 1000 grit: the workhorse. This is what actually sharpens a dull knife.
- 3000 to 6000 grit: polishes and refines the edge so it glides through food.
If you only buy one stone, make it a 1000/6000 combination.
Step by step
1. Prepare the stone
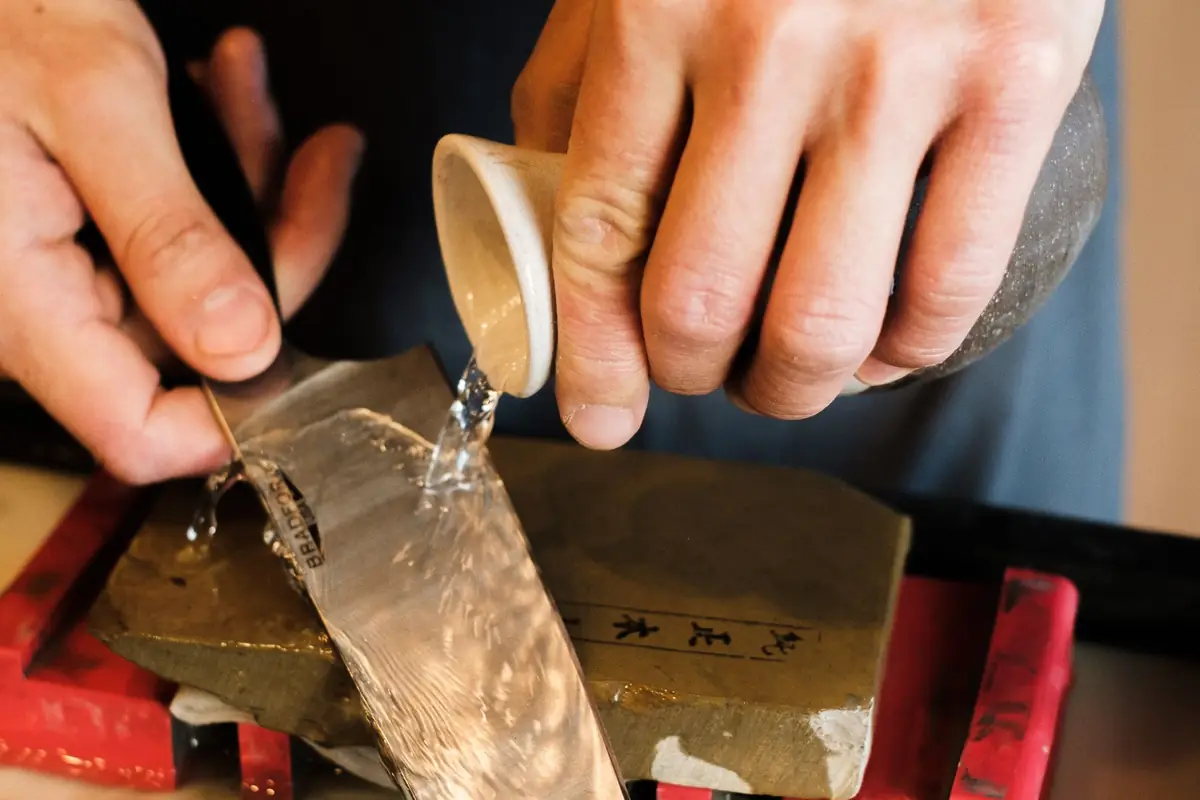
If you have a soaking stone, submerge it in water for 10 to 15 minutes, until it stops releasing bubbles. “Splash and go” stones only need water on the surface. Set the stone on a damp towel or its base, coarse side up.
2. Find your angle
Most Western kitchen knives (German-style, like Wüsthof or Henckels) are sharpened at about 20 degrees per side. Japanese knives are usually closer to 15 degrees.
An easy way to picture 20 degrees: hold the blade straight up (90°), tilt it halfway down (45°), then halfway again (about 22°). That’s close enough.
Marker trick: color the very edge of the blade with a permanent marker. After a few strokes, check where the ink is gone. If it’s only gone at the very tip of the edge, you’re too steep. If it’s only gone at the top of the bevel, you’re too flat. Adjust until the ink comes off evenly.
3. Sharpen the first side on 1000 grit
Hold the handle in your dominant hand and place two or three fingers of your other hand flat on the blade, near the edge. With the edge facing away from you, push the knife across the stone at your angle, sweeping from heel to tip so the whole edge touches the stone.
Use light to moderate pressure, about what you’d use to press a kitchen scale down to 2 or 3 pounds. Keep the stone wet as you go.
4. Feel for the burr
After 10 to 20 strokes, carefully run your thumb across the edge on the opposite side, from spine toward edge (never along it). You’re feeling for a tiny rough lip of metal called a burr. It means you’ve ground all the way to the edge.
Keep going until you can feel the burr along the entire length, heel to tip. This is the step most beginners rush, and it’s the reason their knives don’t get sharp.
5. Repeat on the other side
Flip the knife and repeat at the same angle until a burr forms along the whole first side.
6. Refine on the fine grit
Switch to the 3000 to 6000 side. Do 10 strokes per side, then 5, then 3, then single alternating strokes with very light pressure. This shrinks the burr and polishes the edge.
7. Remove the burr
Lightly drag the edge through a cork, the end grain of a wooden cutting board, or a folded piece of newspaper. You can also strop it a few times, spine first, on leather or cardboard.
8. Test it
Hold a sheet of printer paper by one corner and slice down through it. A sharp knife cuts cleanly with no tearing. A ripe tomato is another good test: the blade should bite into the skin without pressure.
Rinse and dry the knife, rinse the stone, and let the stone air-dry before you put it away.
How often should you sharpen?
For most home cooks, every 2 to 4 months is plenty if you hone regularly in between. Honing and sharpening aren’t the same thing; our honing vs sharpening guide explains the difference and how to hone in 30 seconds.
Common mistakes
- Wobbling the angle. Slow down. Consistency matters more than speed.
- Stopping before the burr forms along the whole edge.
- Pressing too hard on the fine stone, which can roll the edge over.
- Letting the stone dry out. Keep it wet so the metal slurry can do its job.
- Sharpening serrated knives on a flat stone. Serrated edges need a tapered rod or a sharpener made for them.
FAQ
Do I need to flatten my whetstone? Eventually, yes. Stones wear into a dip over time, which makes it hard to hold an even angle. A flattening plate or a sheet of coarse sandpaper on a flat surface fixes it.
Is a whetstone better than a pull-through sharpener? A whetstone takes more skill but removes less metal and gives a cleaner, longer-lasting edge. Pull-through sharpeners are faster and easier. Which one suits you depends on how much effort you want to put in. We compare every type in the best knife sharpeners.
Can I sharpen Japanese knives the same way? Yes, just use a lower angle, around 15 degrees, and lighter pressure. Harder Japanese steel is more prone to chipping.